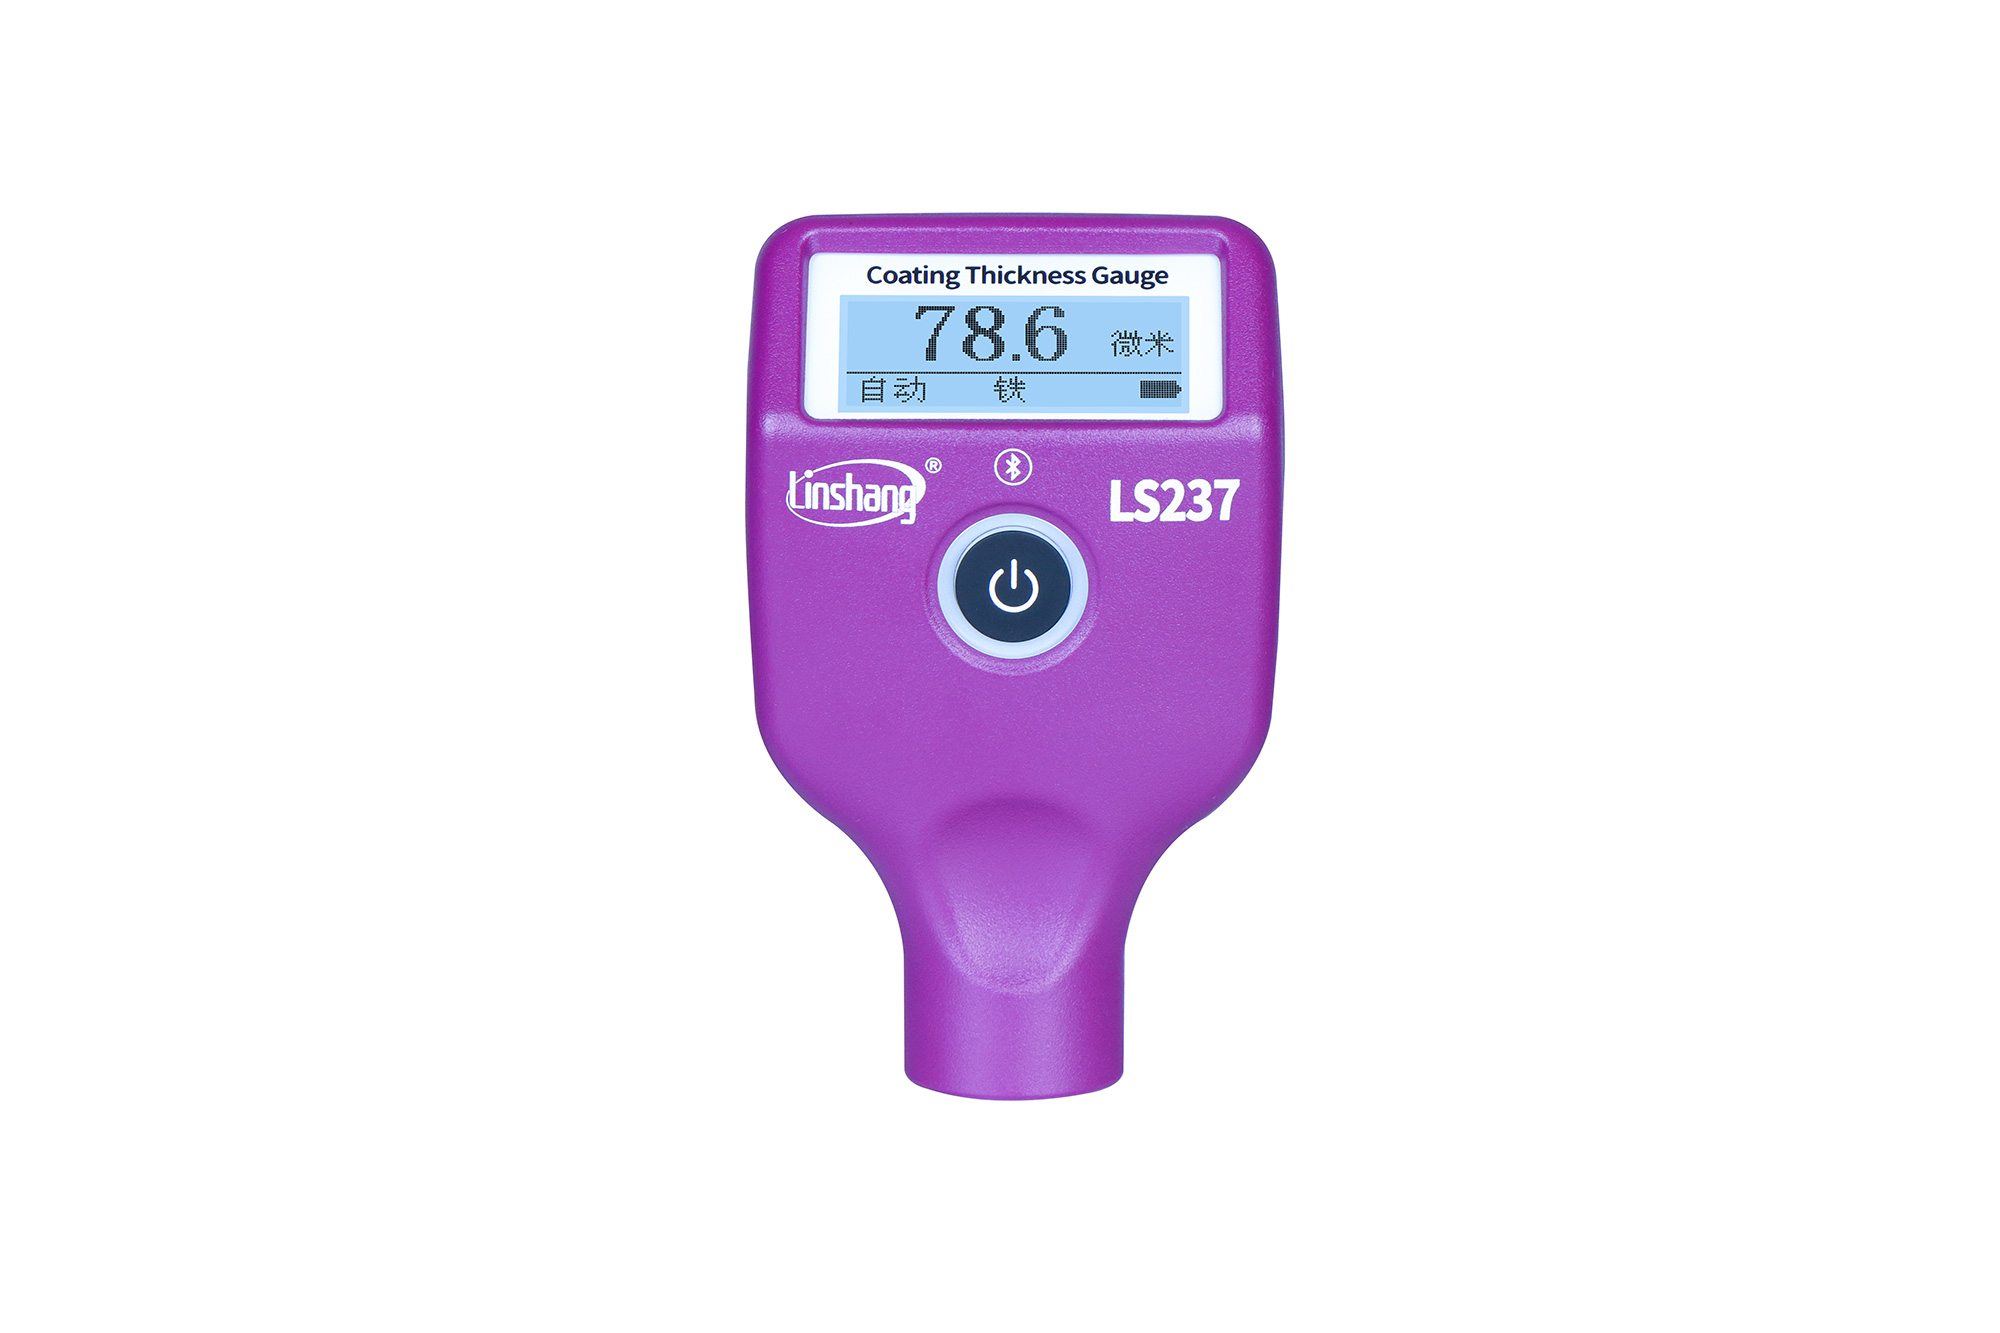
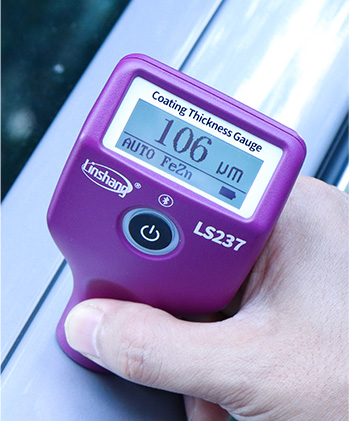
Linshang LS237 Automotive Thickness Gauge
Professional identification of ferrous putty
1. Three-color and rotatable display screen
2. Identify iron galvanized body
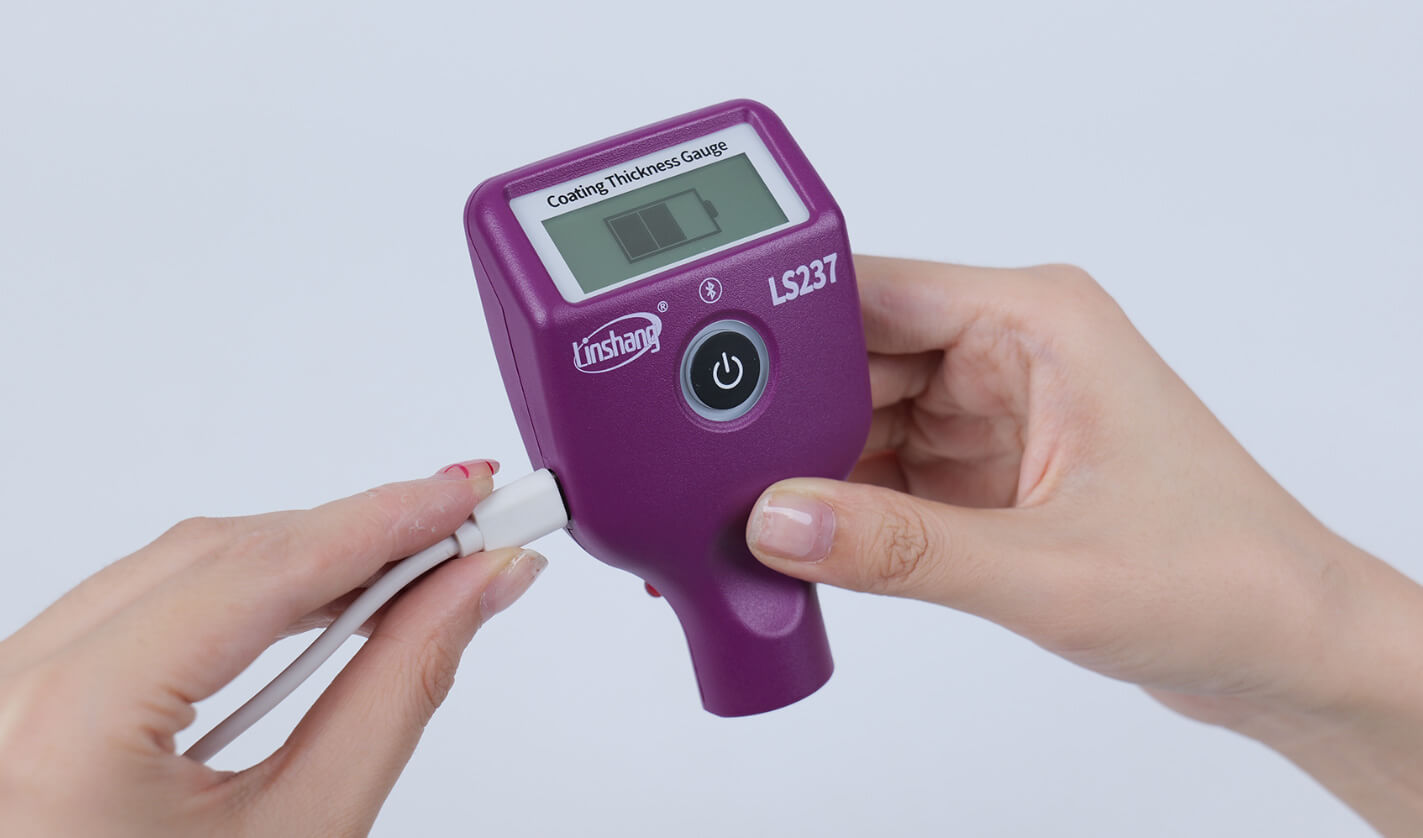
3. Type-C interface charging, ultra-low power consumption
4. Switchable between five languages
Description
LS237 car paint meter is specialized for car paint thickness inspection. The instrument can not only measure the paint thickness above the ferrous and aluminum materials, identify the non-metallic shell, but also can intelligently identify the ferrous putty and ferrous galvanized layer. LS237 automotive paint meter adopts three-color backlighting as well as three-color indicator display, according to the different paint thickness of the screen and the button displays different color light. LS237 screen is rotatable, facilitating easier reading. LS237 paint film meter also adopts rechargeable lithium battery power supply, ultra-low power consumption. The instrument also has Bluetooth function, equipped with APP, support car inspection report export and sharing.
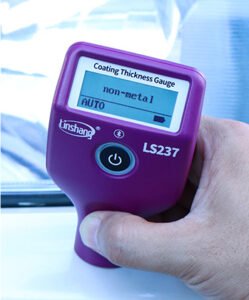
Support quickly detect ferrous, aluminum, galvanized iron and non-metallic car body, which is multi-purpose and easy to identify the car body substrate material.

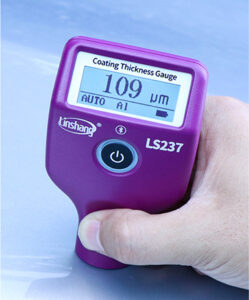
Three-color display, paint thickness at a glance
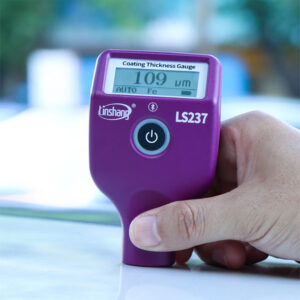
The tricolor display can be switched on/off in the settings. The instrument’s screen backlight and button indicator lights display three colors corresponding to varying car paint thickness. Paint thickness less than 170μm, white backlight display; paint thickness between 170-350μm, yellow backlight display; paint thickness greater than 350μm or identify ferrous putty, red backlight display.
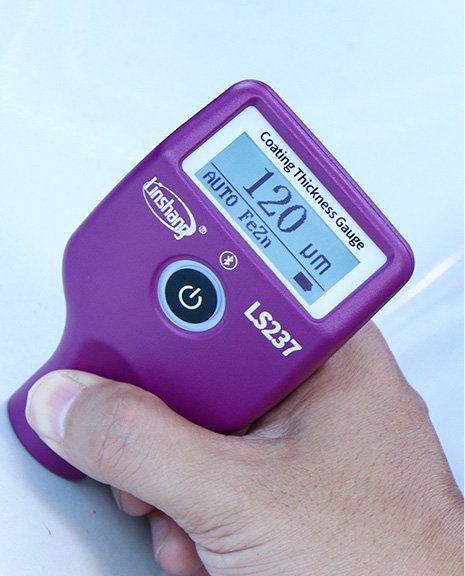
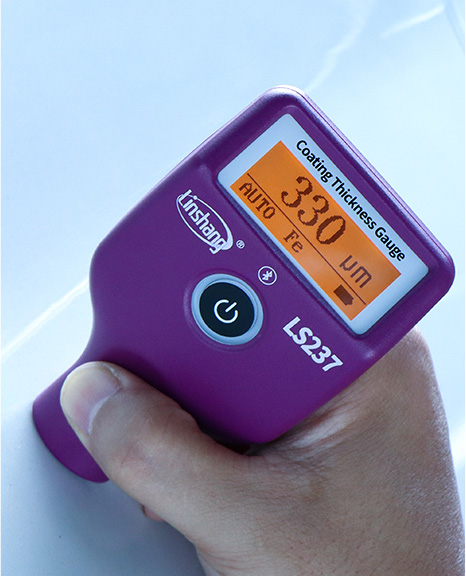
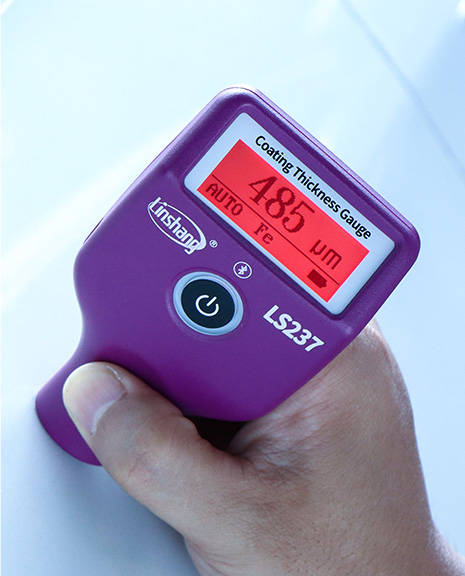
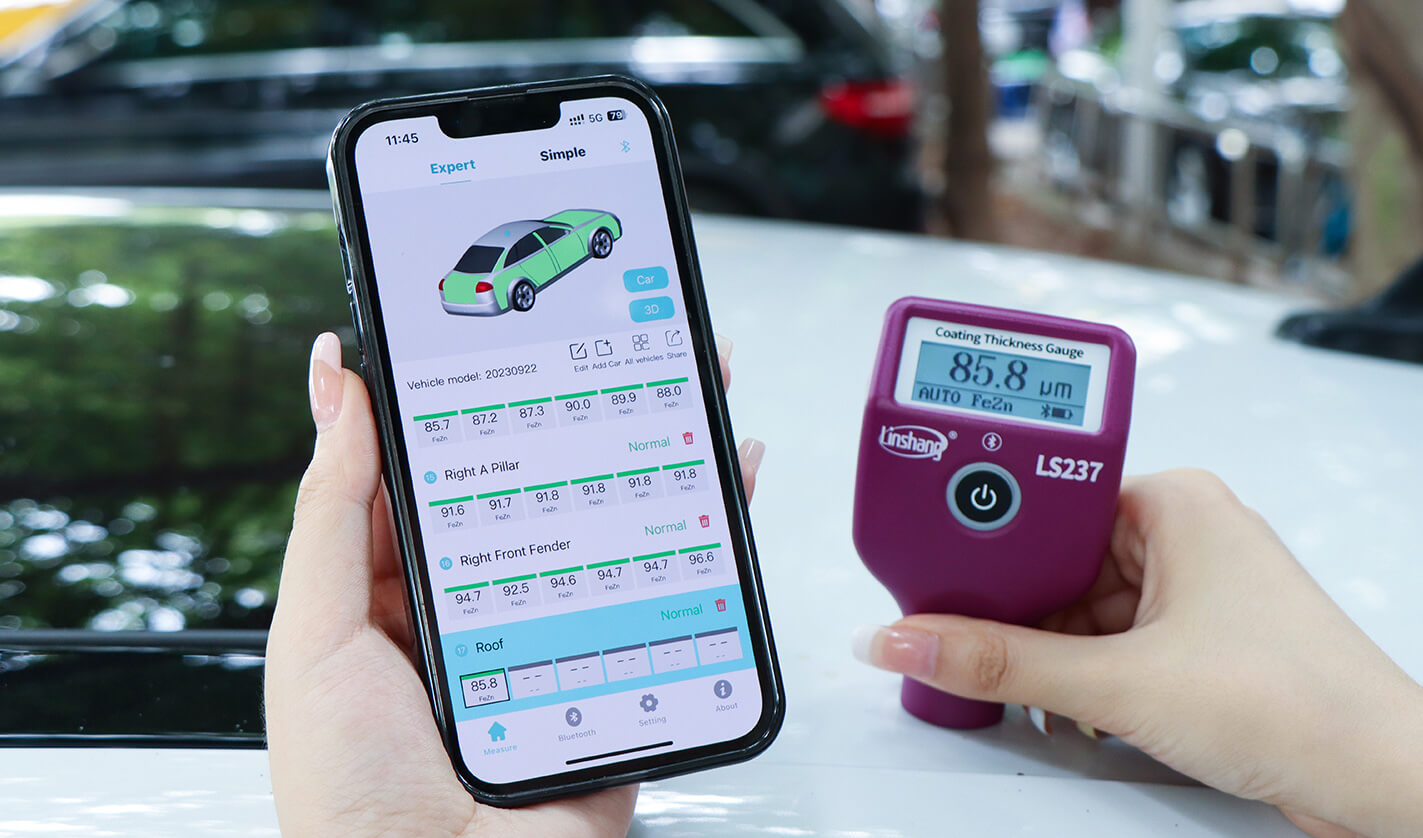
Equipped with APP, generate vehicle inspection report
With Bluetooth data transmission function, online operation with cell phone APP, which can generate test report and save or share the report.
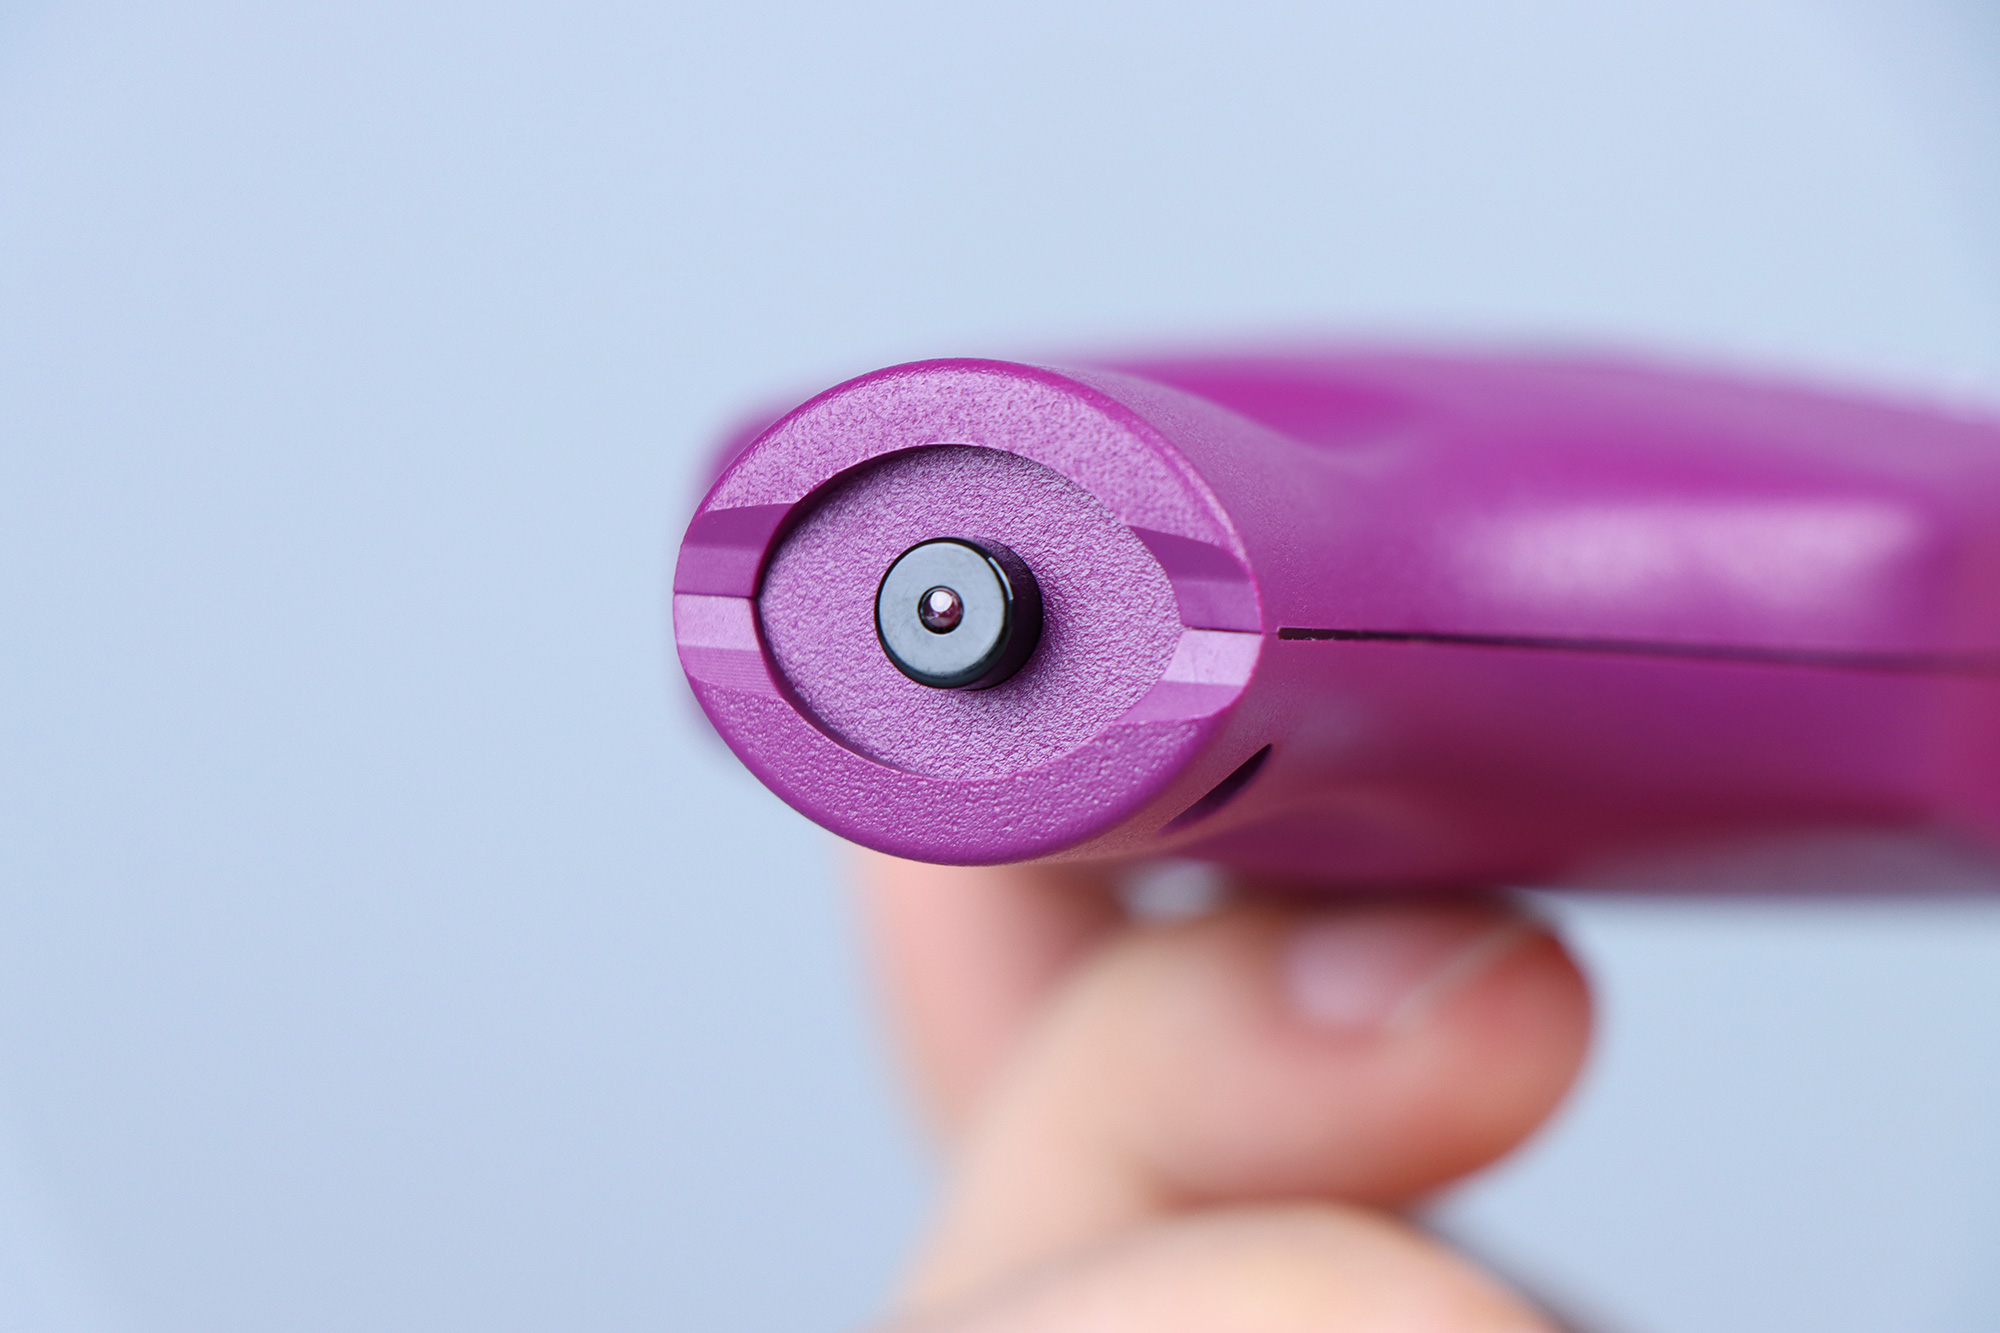
Ruby probe, hard and wear-resistant
The hard wearing ruby probe reduces measurement errors caused by wear and tear and extends the life of the instrument.
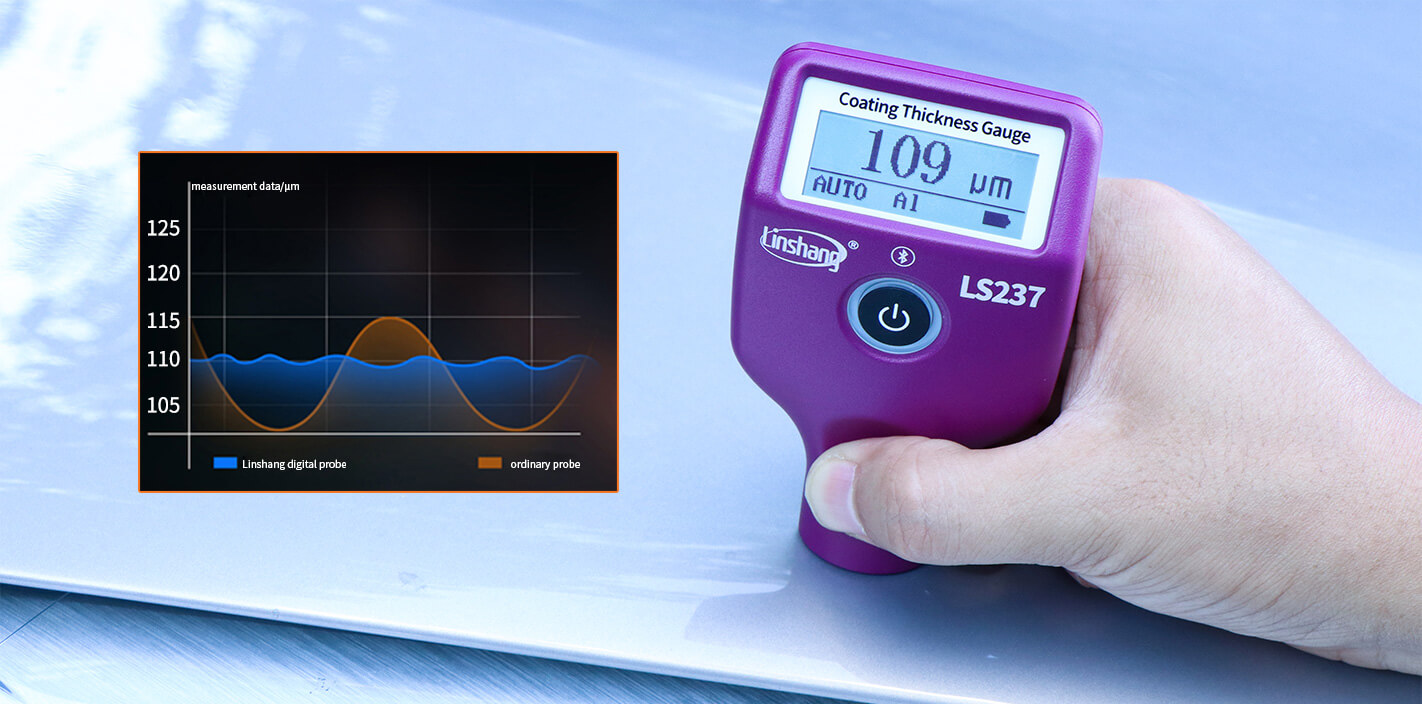
Digital probe, more accurate measurement
Using advanced digital probe technology, digital signal processing is done directly on the probe. The probe is less susceptible to interference and provides excellent test accuracy to ensure very good repeatability.
Parameters
| Probe tip | Ruby |
| Measurement principle | Fe: Hall effect / Al: Eddy current |
| Probe type | Integrated |
| Measuring range | 0.0-5000μm |
| Resolution | 0.1μm: (0μm-99.9μm) 1μm: (100μm-5000μm) |
| Accuracy | ≤±(3%H+2μm), H is the standard value |
| Unit | μm / mil |
| Measuring interval | 0.5s |
| Minimum measuring area | Ø = 25mm |
| Minimum radius of curvature | Convex: 5mm / Concave: 25mm |
| Minimum substrate thickness | Fe:0.2mm / Al:0.05mm |
| Display | 128×48 dot matrix LCD |
| Power supply | Rechargeable lithium battery 3.7V@1200mAh |
| Range of working temperature | -20℃-50℃ |
| Storage temperature range | -20℃-60℃ |
| Host size | 101*62*28 mm |
| Weight (including battery) | 76g |
| Data transfer | Bluetooth |

